Connect your NIMBO account
Sign in with your NIMBO account or validate your personal API key directly from the plugin.


The NIMBO QGIS plugin is the recommended way to use NIMBO in QGIS.
It lets you connect your NIMBO account, browse the layers available to your subscription, filter them by composition and date, and add a selected monthly basemap without manually configuring a map service URL.
View the official QGIS plugin
Connect your NIMBO account
Sign in with your NIMBO account or validate your personal API key directly from the plugin.
Browse monthly basemaps
Filter the catalog by composition, month and year instead of manually searching for layer identifiers.
Add layers to your project
Load the selected NIMBO basemap into QGIS and combine it with your own parcels, assets, boundaries or analysis layers.
Monitor your GeoCredits
See your remaining GeoCredit balance from the plugin while working with NIMBO layers.
The layer list is generated from the products, dates and resolutions available to your account. Depending on your plan, this can include NIMBO RGB, NIR, NDVI and NIMBO HD basemaps.
You need:
You can create a free account on NIMBO Earth Online.
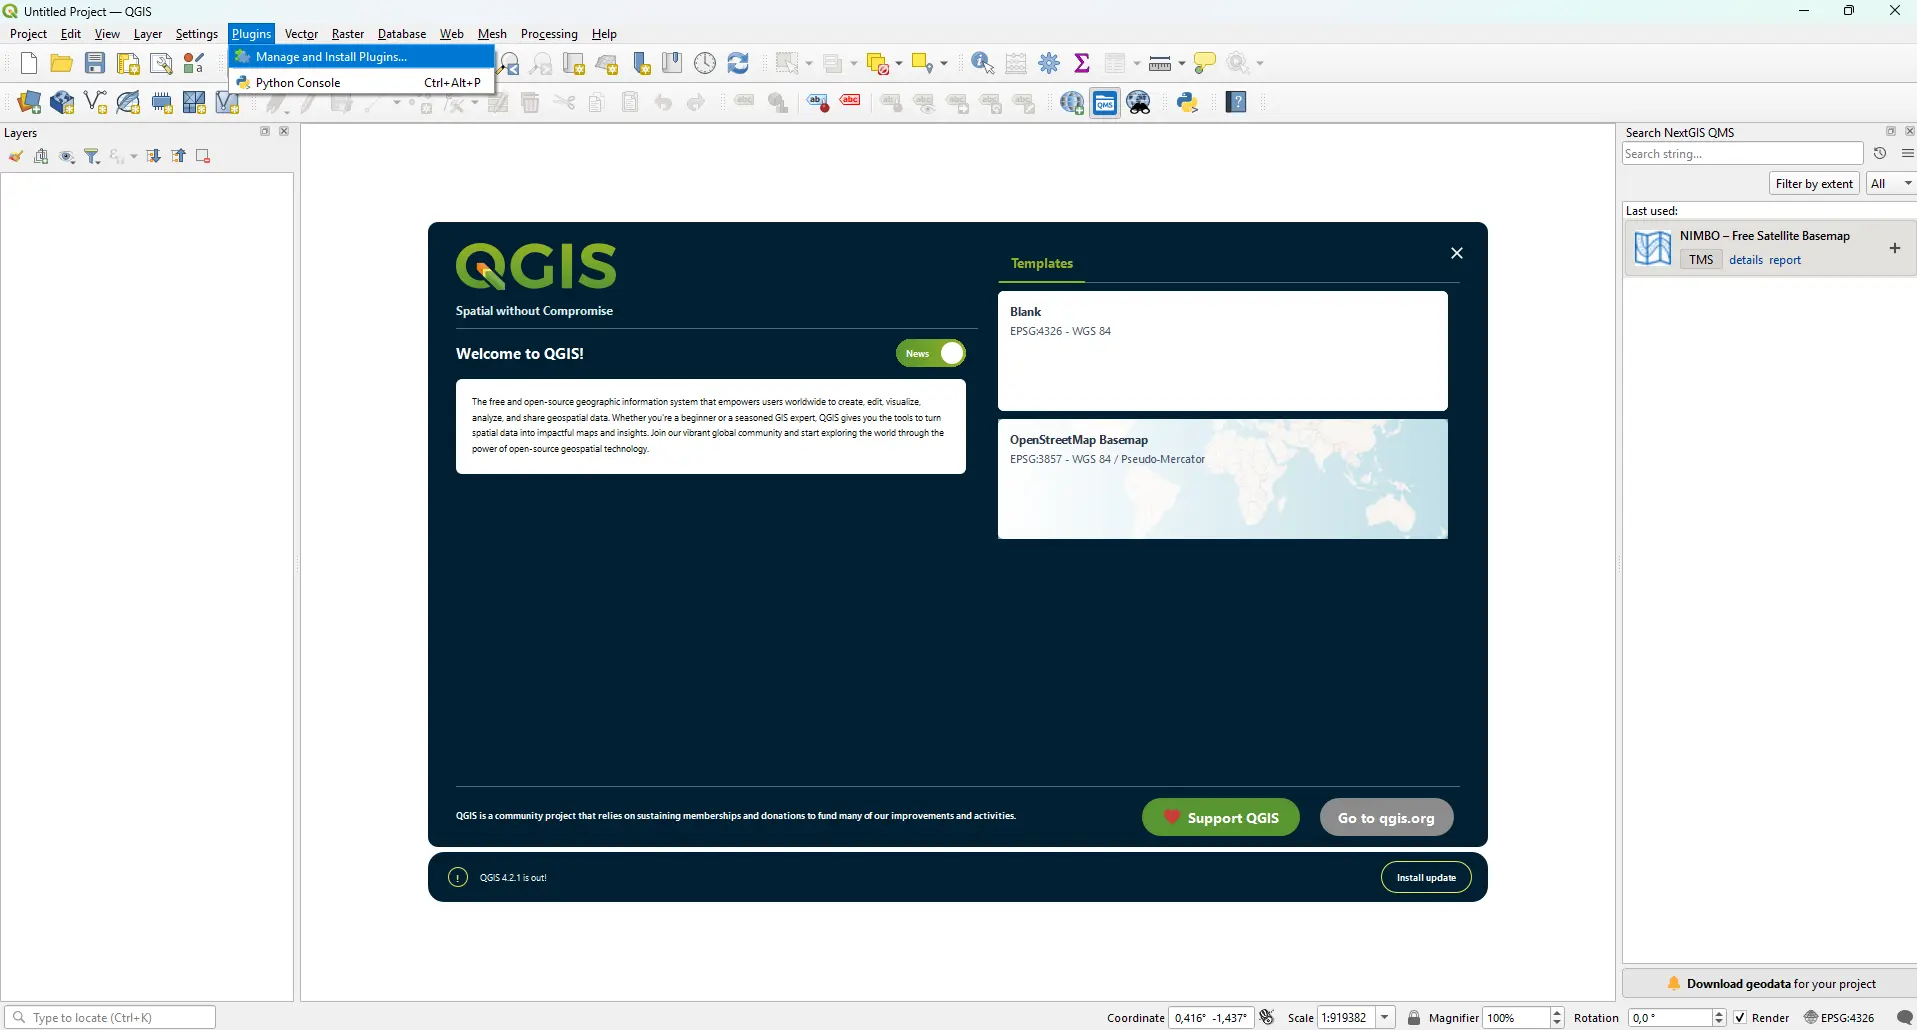
Open the QGIS plugin manager
In QGIS, go to Plugins → Manage and Install Plugins…
Search for the plugin
In the All tab, search for:
Nimbo's Earth Basemaps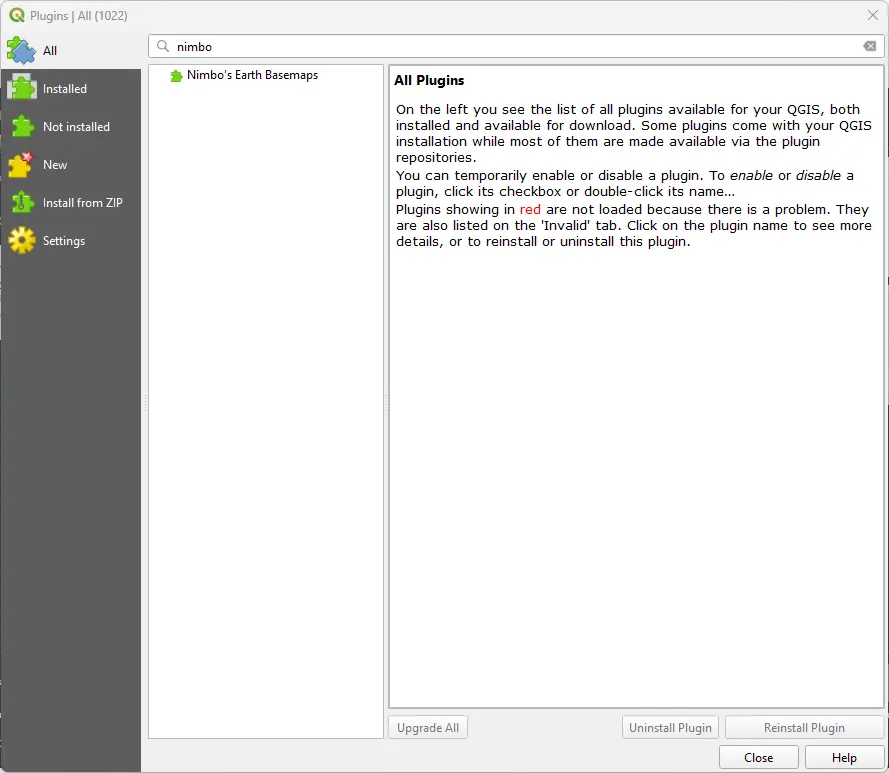
Install it
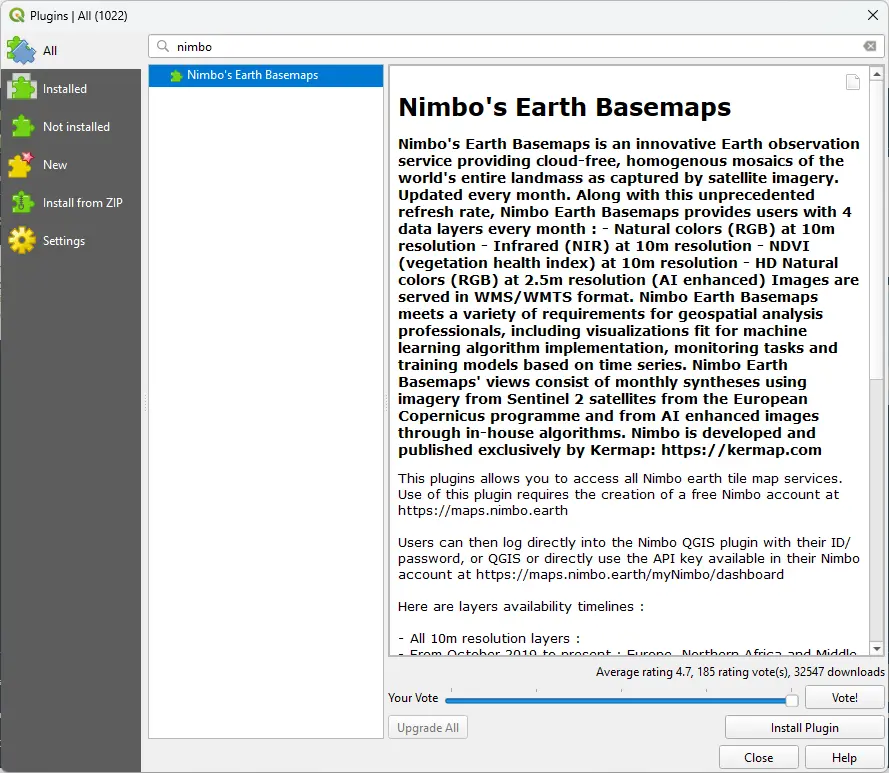
Select the plugin, then click Install Plugin.
Open NIMBO
Launch the plugin from the NIMBO icon in the QGIS toolbar or from the Web menu.
The NIMBO panel opens as a dock on the right side of QGIS.
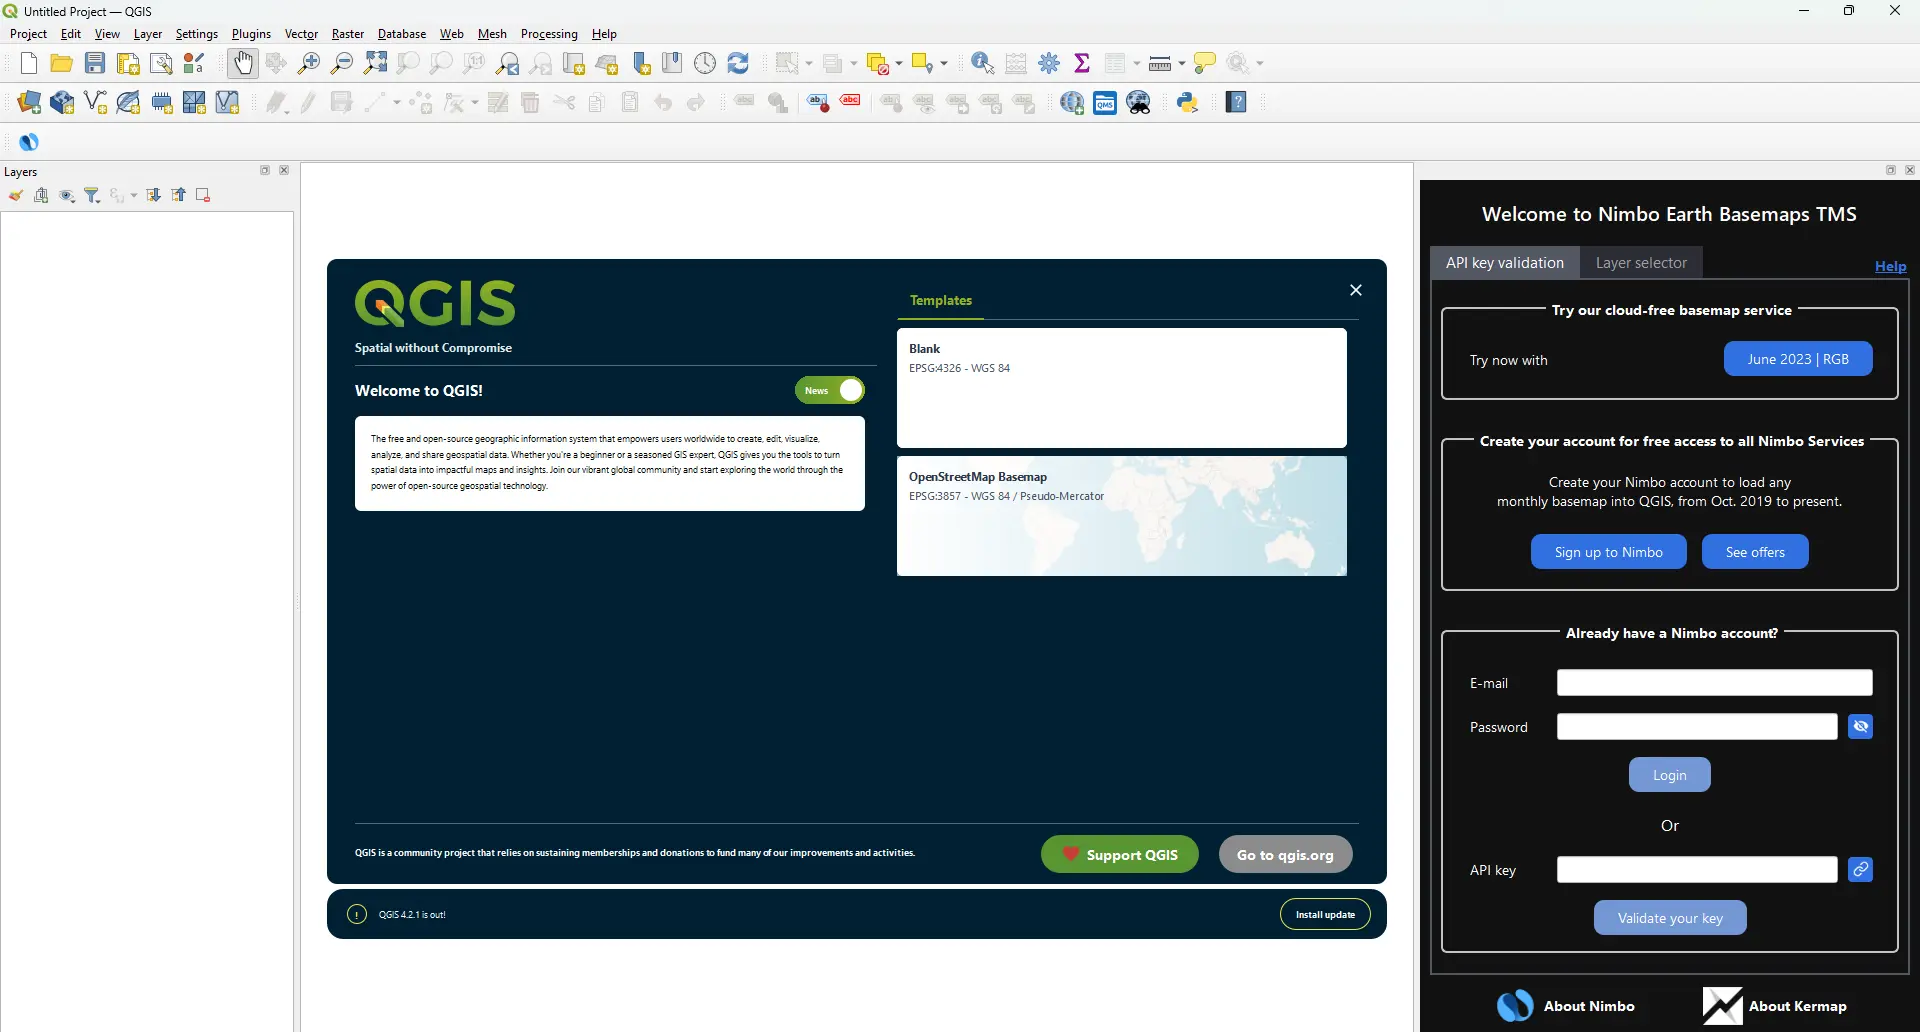
The plugin provides two authentication methods.
Enter the email address and password used for your NIMBO account, then click Login.
The plugin retrieves the API token associated with your account and opens the Layer selector tab.
kermap_token.Read Authentication for more information about your NIMBO API token.
Once authenticated, open the Layer selector tab.
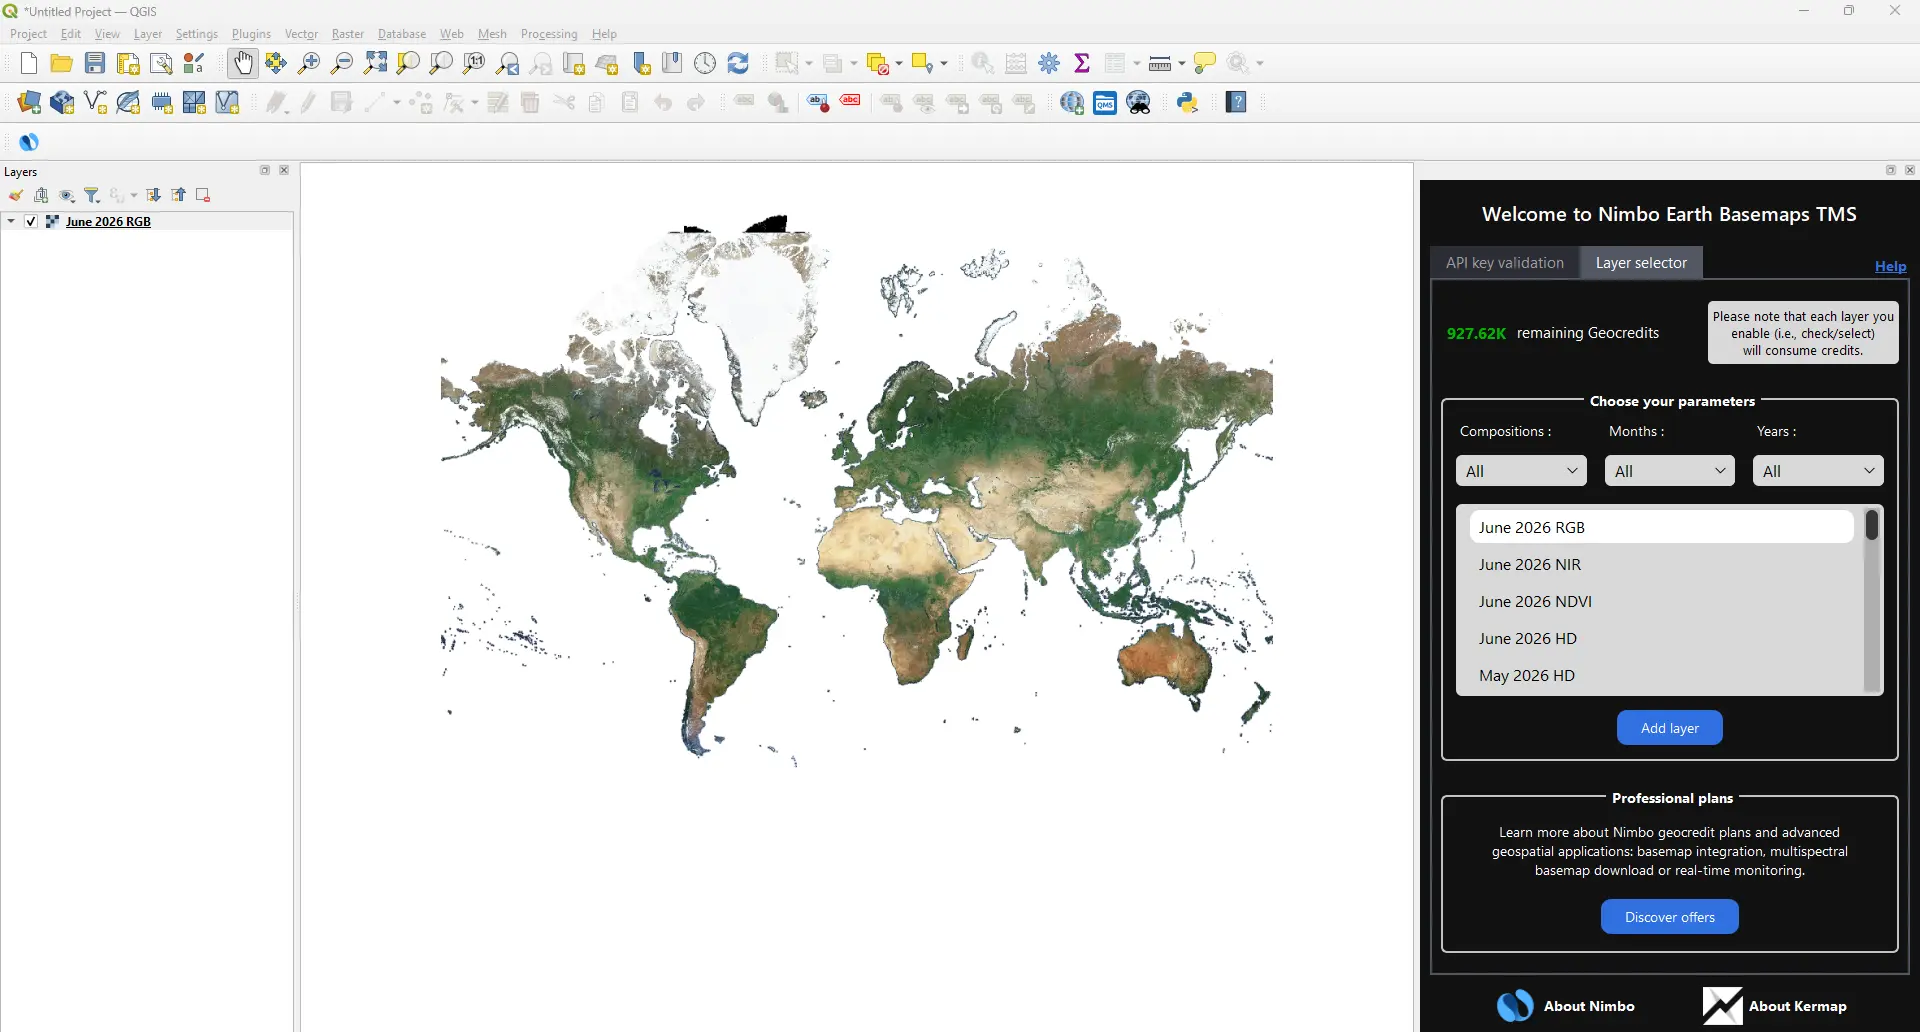
Choose a composition
Filter the catalog by the image product you need, such as RGB, NIR, NDVI or NIMBO HD when available to your account.
Choose a month and year
Use the date filters to find the monthly basemap required for your project.
Select the layer
Click the corresponding layer in the results list.
Add it to QGIS
Click Add layer. The basemap is added to the current QGIS project and can be reordered, styled for display, hidden or combined with your other layers.
To compare two dates, add both monthly layers and toggle their visibility or adjust the opacity of the upper layer.
NIMBO is streamed into QGIS as map tiles. GeoCredits are consumed when QGIS requests new tiles from the NIMBO service.
Requests can be triggered when you:
The amount consumed is therefore linked to the tiles requested by QGIS, not to a fixed cost for installing the plugin or adding one layer name.
Read Tiles and GeoCredits to understand usage and monitor your balance.
| Method | Recommended for | Main advantage |
|---|---|---|
| NIMBO QGIS plugin | Most QGIS users | Browse authorized layers and dates without building service URLs manually. |
| Manual WMTS connection | Managed environments, reusable QGIS connections or workflows where plugins are restricted | Uses QGIS’s native WMS/WMTS data source manager. |
| Manual TMS connection | A known layer URL or a preconfigured XYZ connection | Adds a specific NIMBO tile layer directly. |
For manual configuration, follow QGIS: Add NIMBO with WMS, WMTS or TMS.
Large extents, repeated refreshes and high zoom levels can generate many tile requests. Keep only the layers you need visible and avoid refreshing the entire canvas unnecessarily.
Installing the plugin does not change the usage rights associated with your NIMBO plan.
Before publishing maps, sharing client deliverables or using NIMBO in a client-facing product, read Credits and attribution.