Integrating Nimbo WMTS in ArcGIS Pro
In this tutorial, you will learn how to connect ESRI ArcGIS Pro to the Nimbo platform using the Web Map Tile Service (WMTS) standard. This allows you to stream global, monthly, cloud-free Sentinel-2 mosaics directly into your GIS projects.
Why use Nimbo WMTS in ArcGIS Pro?
Section titled “Why use Nimbo WMTS in ArcGIS Pro?”While many web platforms use TMS (Tile Map Service), ESRI ArcGIS Pro unfortunately does not natively support TMS streams. However, you can easily integrate Nimbo using the WMS or WMTS protocols.
In this guide, we specifically recommend using the WMTS (Web Map Tile Service) flux because it is significantly more performant than WMS. By utilizing pre-rendered tiles, it ensures a smooth and rapid navigation experience.
Using Nimbo WMTS in ArcGIS Pro grants you access to our full range of satellite data:
- Natural Color (RGB): Stunning cloud-free visual basemaps.
- Scientific Indices: Ready-to-use NDVI (Vegetation) and NIR (Infrared) layers.
- Radar Mosaics: Sentinel-1 data for all-weather monitoring.
- NIMBO HD: High-resolution mosaics at 2.5m precision for detailed analysis.
Prerequisites
Section titled “Prerequisites”Before starting, ensure you have:
- An active account on Nimbo.earth.
- Your personal API Token, which you can find in your Nimbo Dashboard.
- ESRI ArcGIS Pro installed and logged in.
Step-by-Step Guide
Section titled “Step-by-Step Guide”1. Launch ArcGIS Pro
Section titled “1. Launch ArcGIS Pro”Open ArcGIS Pro and start a new project or open an existing map.
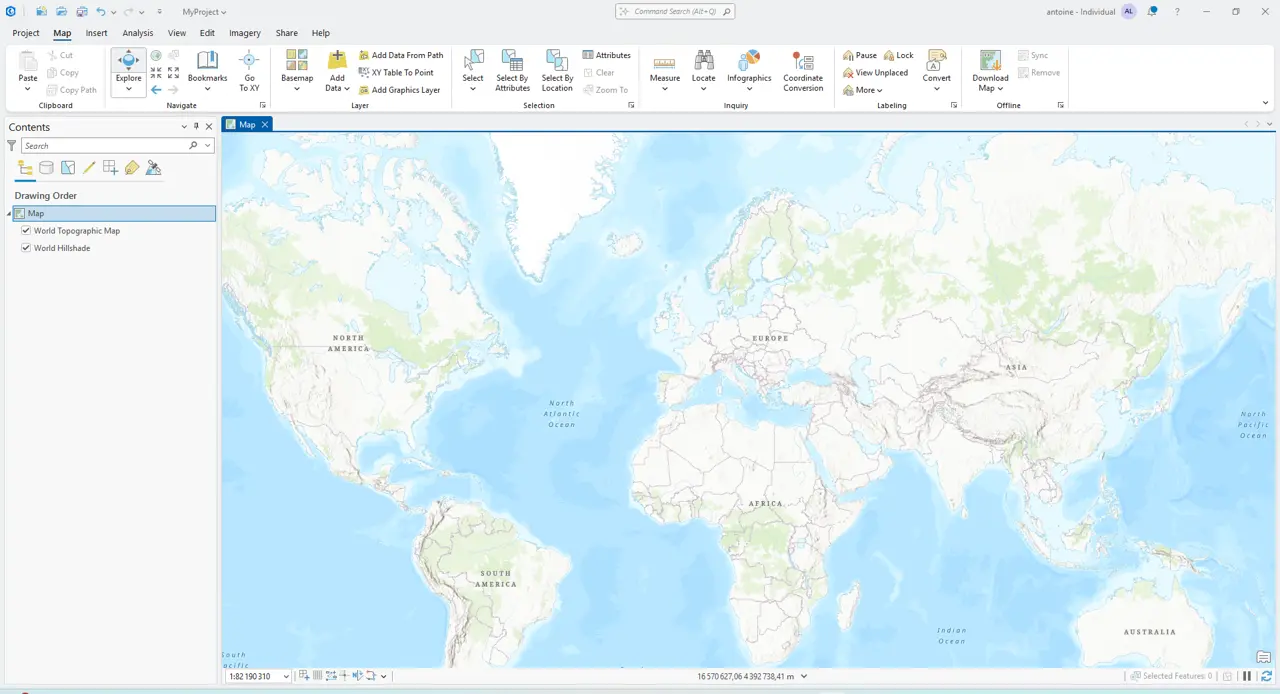
The default ArcGIS Pro map interface.
2. Access the Connection Menu
Section titled “2. Access the Connection Menu”Navigate to the Insert tab on the top ribbon and click on the Connections button.
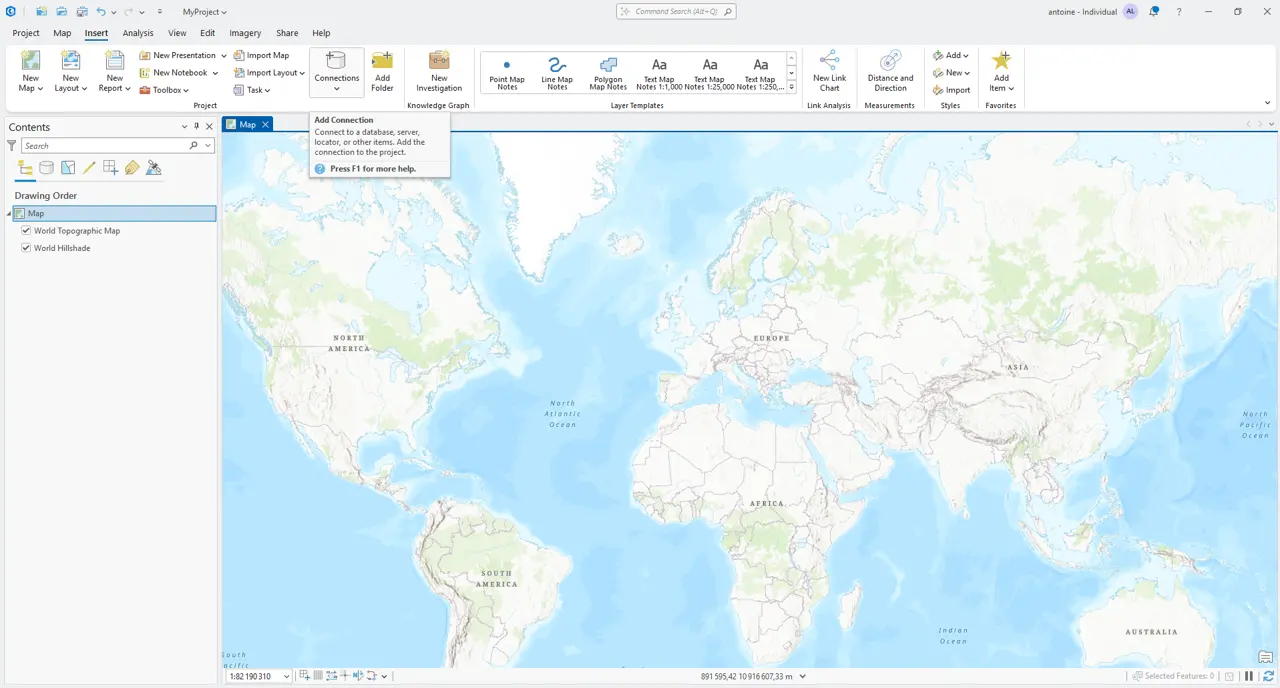
Location of the Connections menu in the Insert tab.
3. Initialize a New WMTS Connection
Section titled “3. Initialize a New WMTS Connection”Hover over Server and select New WMTS Server Connection.
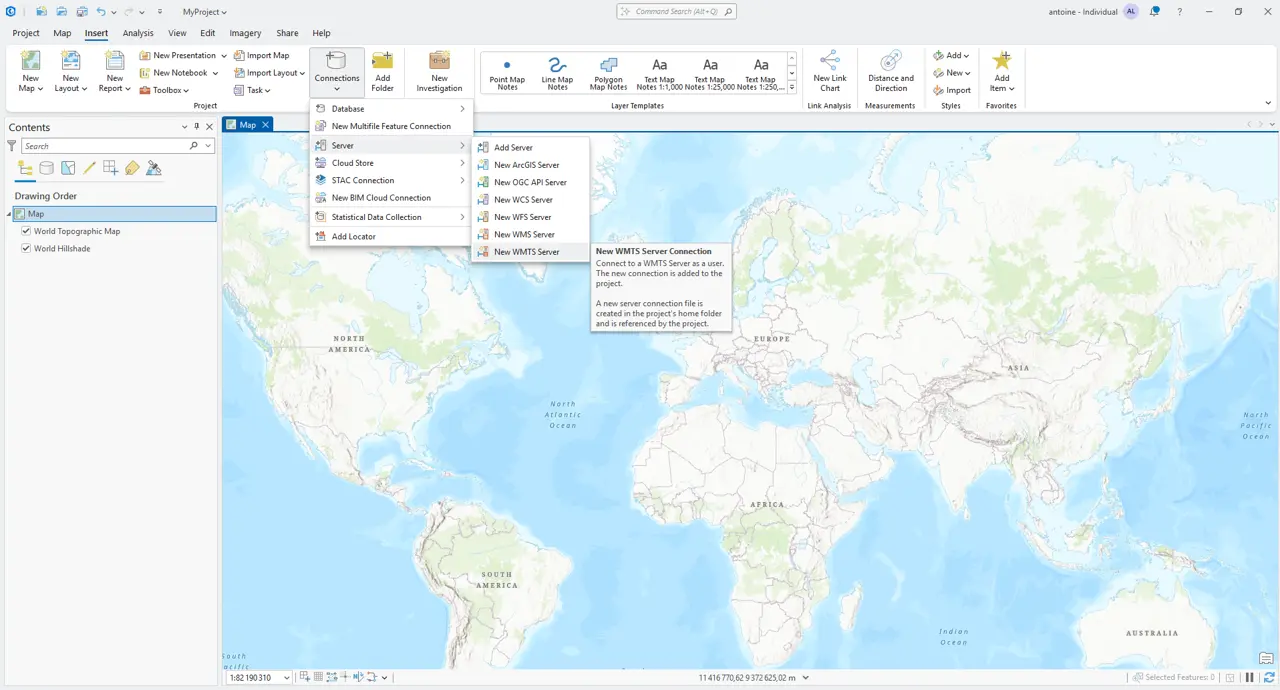
Selecting the WMTS Server option.
4. Enter the Nimbo Service URL
Section titled “4. Enter the Nimbo Service URL”In the Server URL field, copy and paste the following endpoint:
https://prod-data.nimbo.earth/mapcache/wmts/1.0.0/WMTSCapabilities.xml
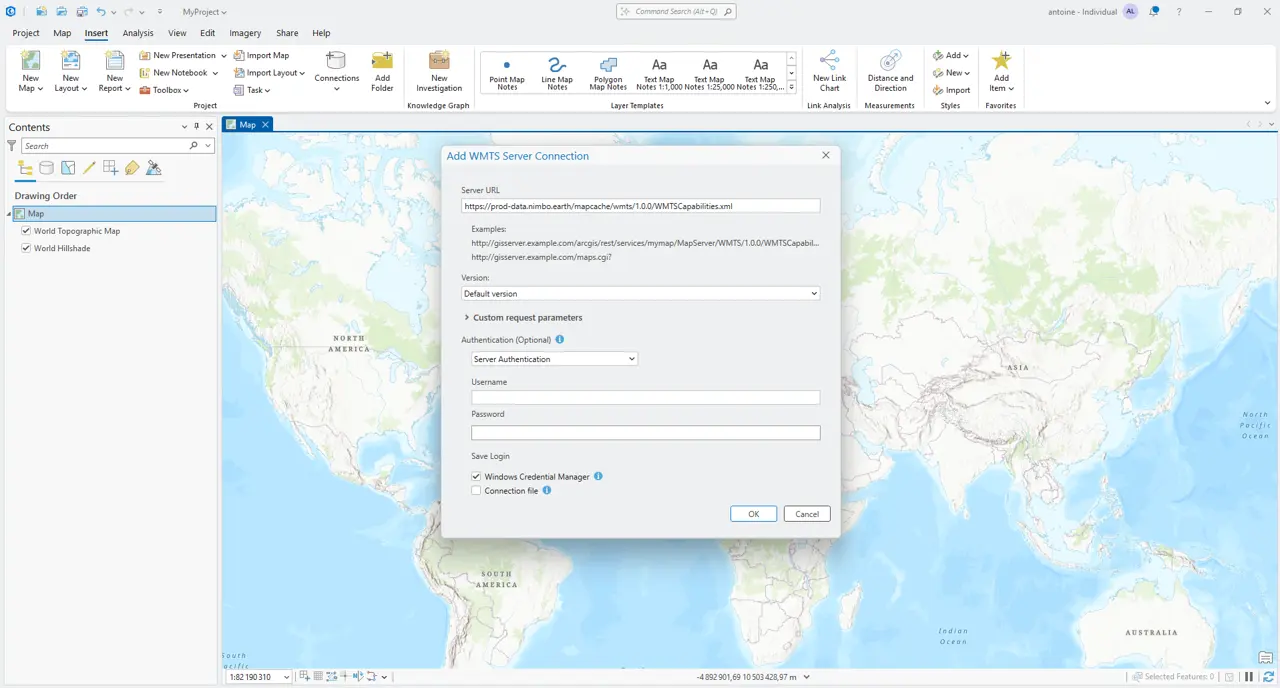
Entering the Nimbo WMTS capabilities URL.
5. Configure the API Token
Section titled “5. Configure the API Token”To authenticate your access:
- Expand Custom request parameters.
- Add a row with Parameter:
kermap_tokenand Value: Your_API_Token. - Click OK.
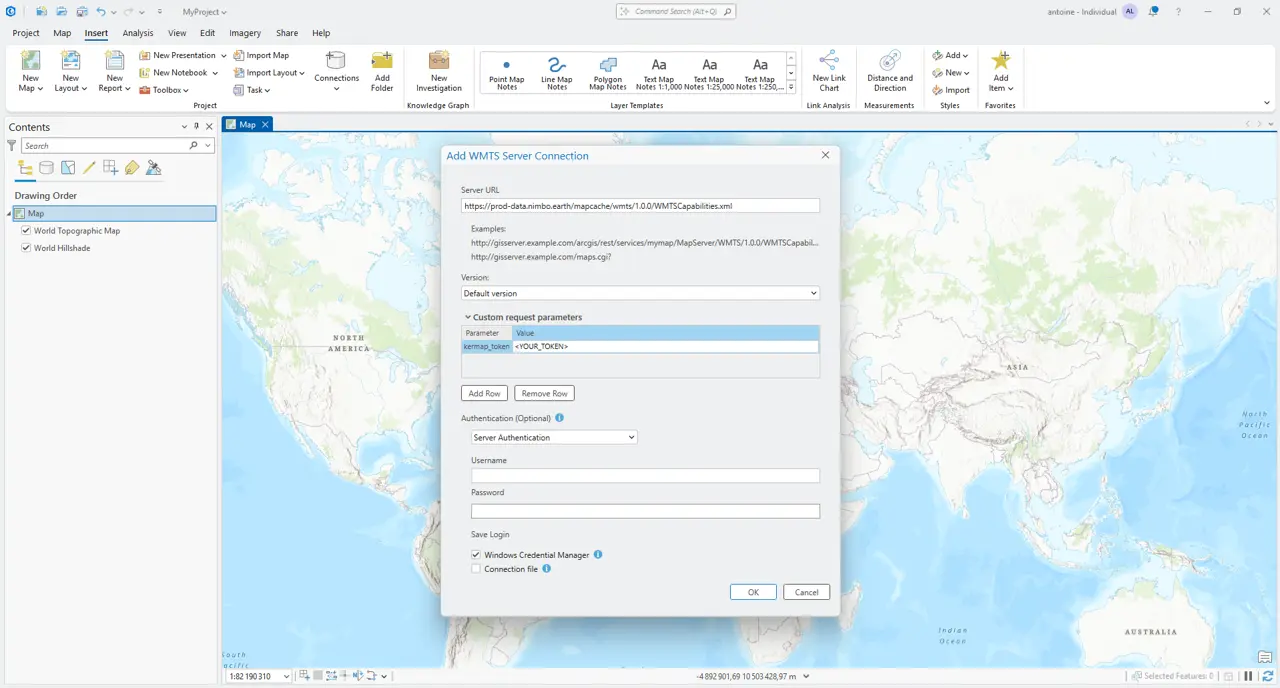
Adding the kermap_token parameter for authentication.
6. Open the Catalog Pane
Section titled “6. Open the Catalog Pane”Go to the View tab and click on Catalog Pane to browse your new connection.
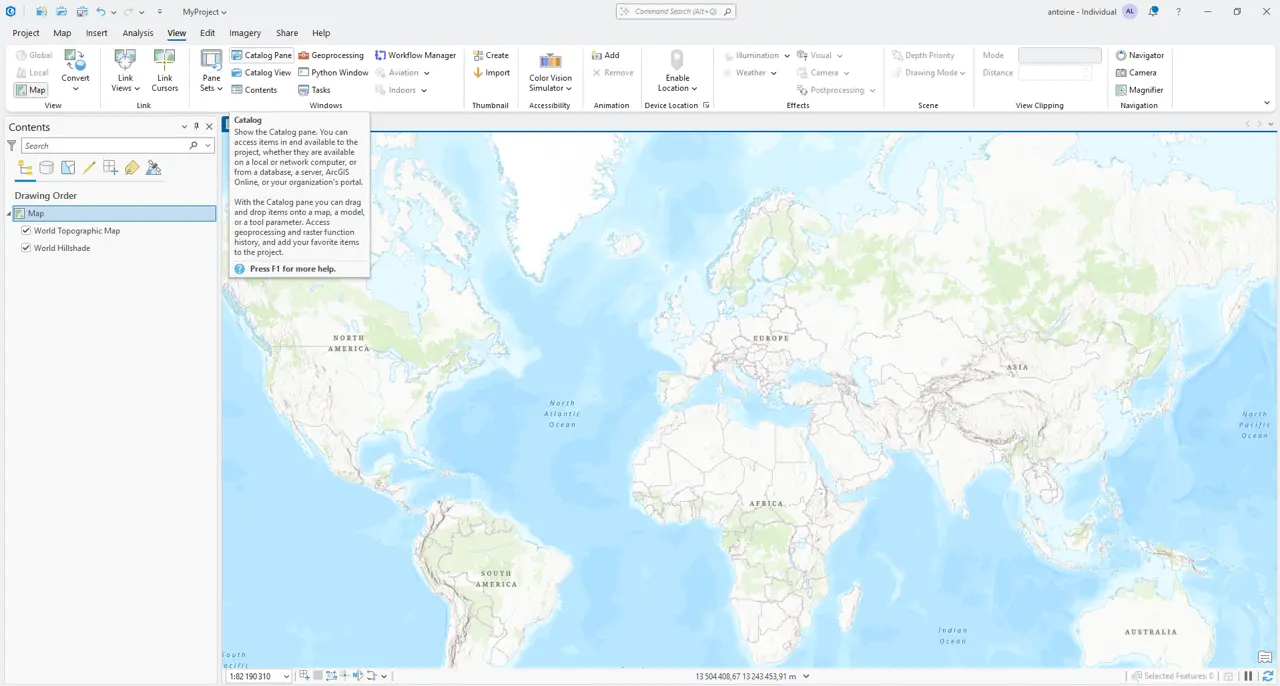
Enabling the Catalog Pane from the View tab.
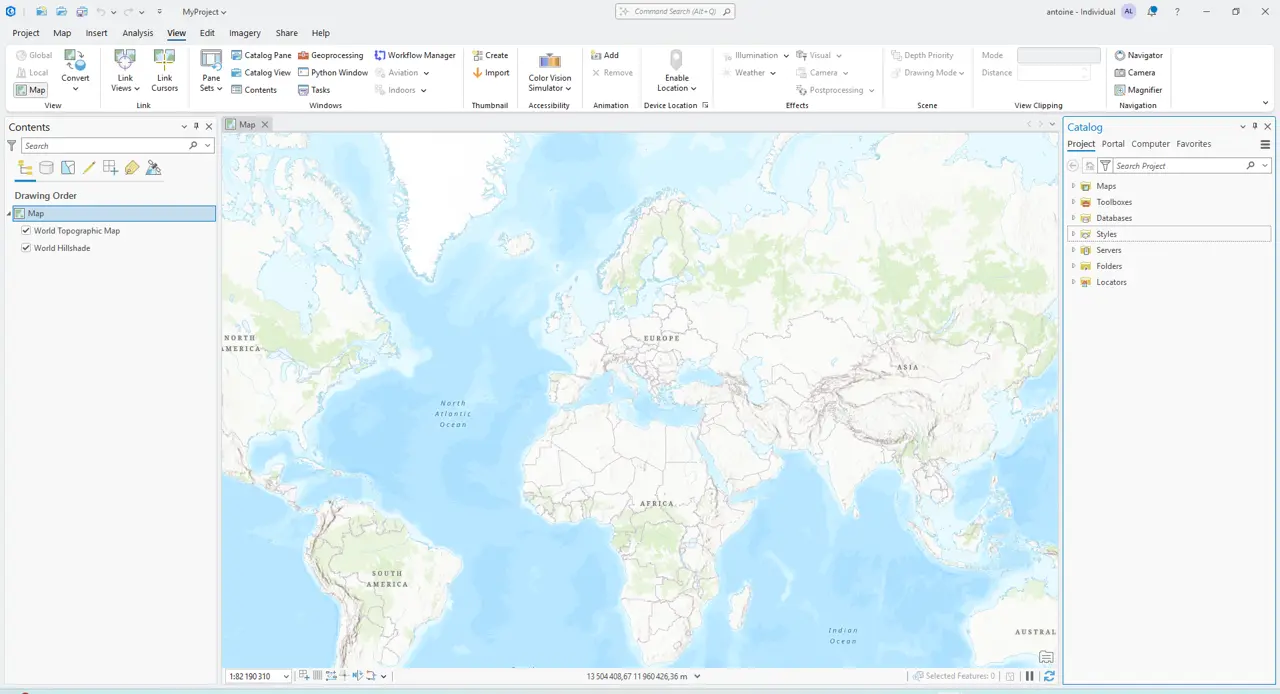
The Catalog Pane appears on the left of the screen.
7. Explore Available Mosaics
Section titled “7. Explore Available Mosaics”Expand the Servers folder to find the Nimbo entry. You will see the full list of monthly mosaics and spectral indices.
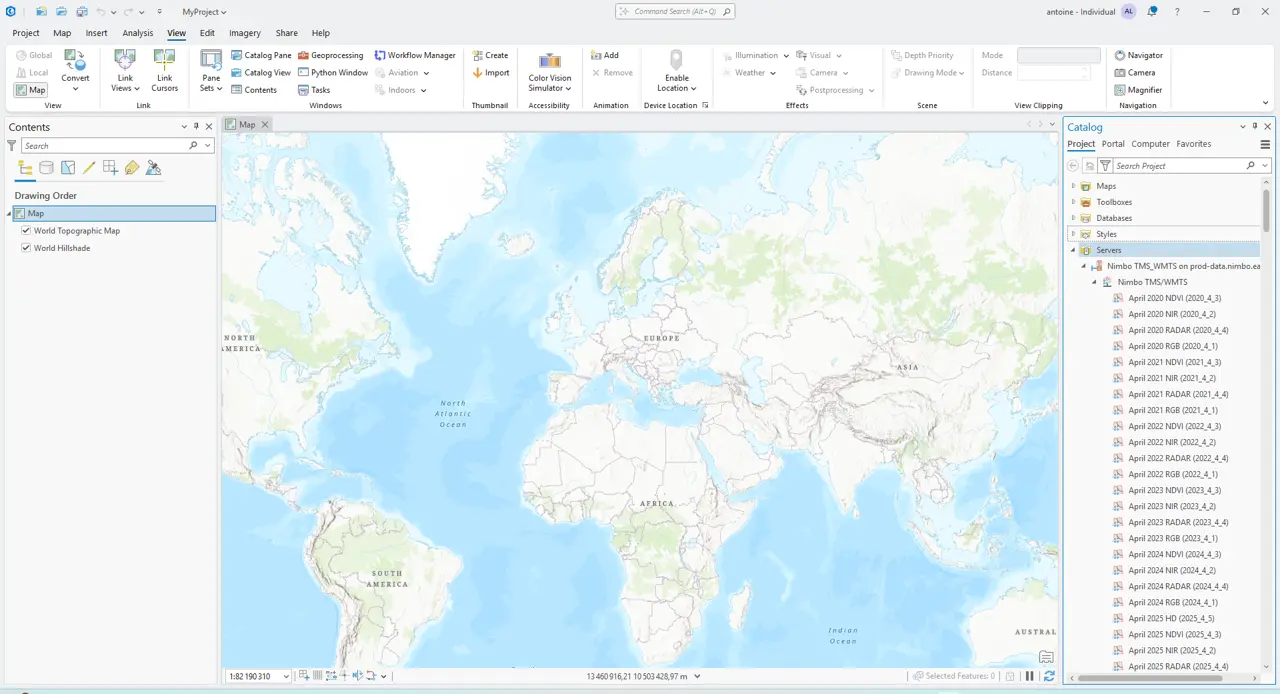
Browsing the available monthly layers (RGB, NDVI, NIR, etc.).
8. Add Layer to Map
Section titled “8. Add Layer to Map”Drag and drop your chosen layer (e.g., April 2025 RGB) directly onto your map.
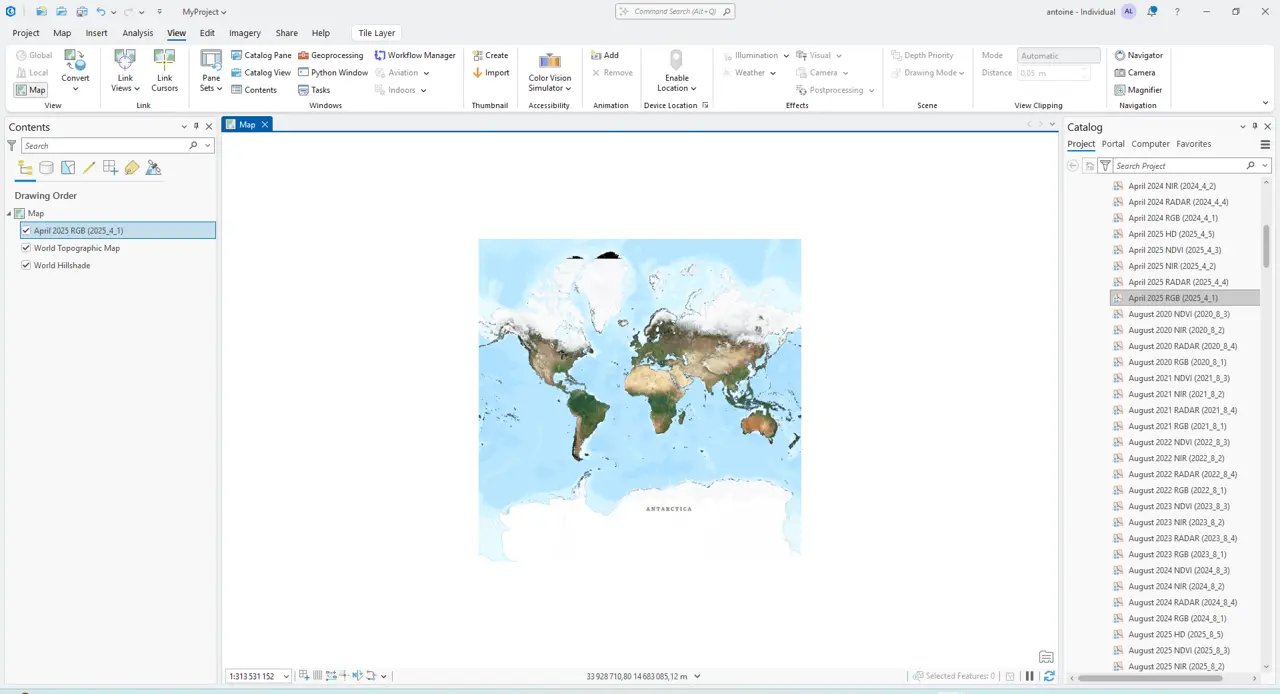
Successful integration of the Nimbo layer into the map view.
9. Visualization
Section titled “9. Visualization”You can now zoom in to inspect the high-resolution, cloud-free imagery.
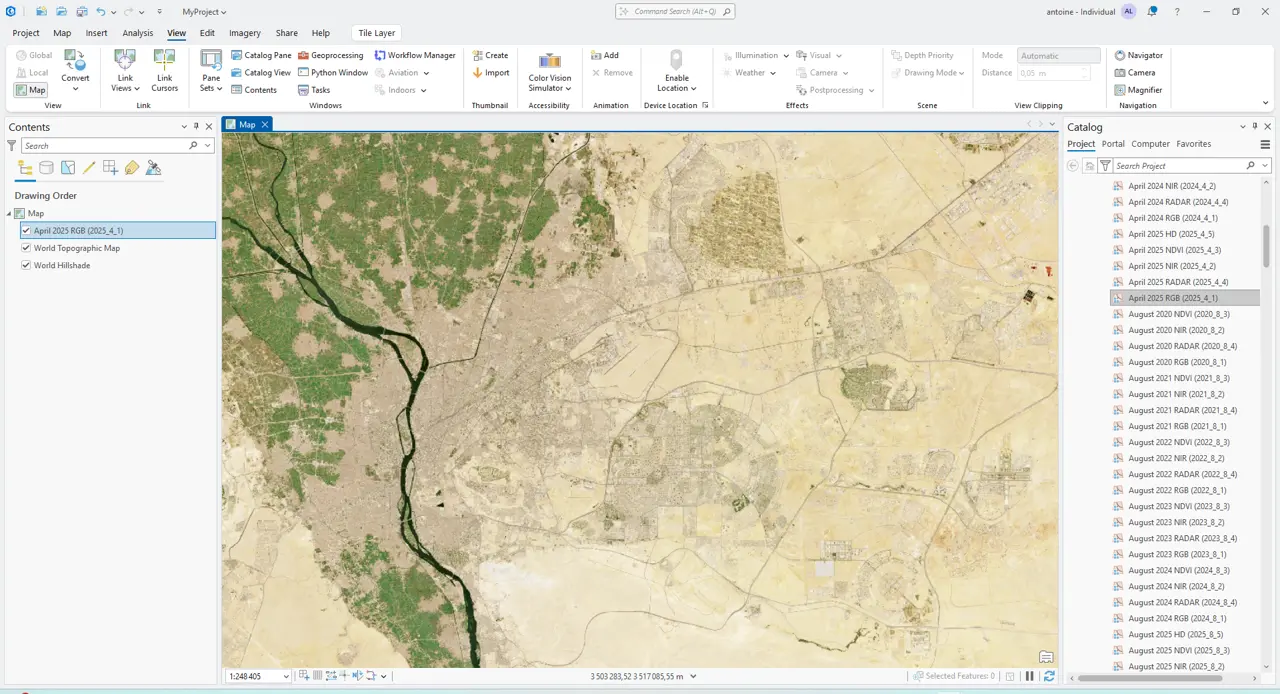
Detailed view of Cairo using Nimbo monthly imagery.